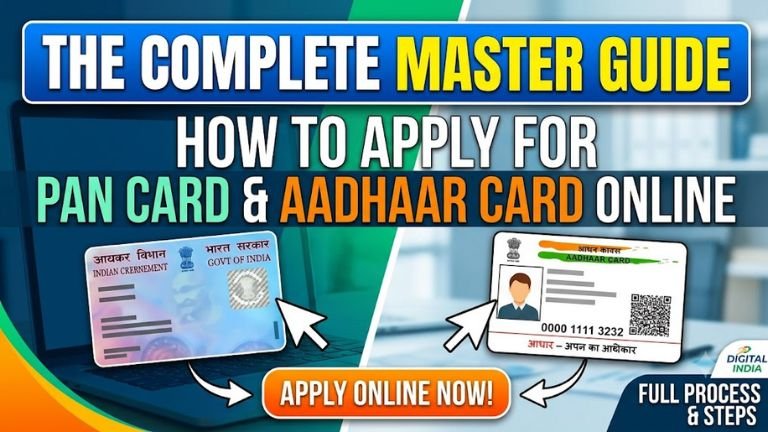
The Complete Master Guide: How to Apply for PAN Card and Aadhaar Card Online
Navigating the legal and financial landscape in India requires two foundational pillars of identity: the Permanent Account Number (PAN) Card and the Aadhaar Card. Together, they form the bedrock of your financial and personal identity. A PAN card is legally mandatory for filing income tax returns, opening bank accounts, investing in stock markets, and conducting major financial transactions. Meanwhile, an Aadhaar card serves as India’s single source of biological and demographic identity verification, required for everything from mobile SIM cards to government subsidies.
The application frameworks have evolved to emphasize secure, digital pathways. This comprehensive guide provides the step-by-step instructions, legal rules, and documentation pipelines required to successfully secure both your PAN and Aadhaar cards using official digital channels.
Part 1: How to Apply for a New PAN Card Online
A PAN card contains a unique 10-digit alphanumeric code issued by the Income Tax Department. The online issuance system is handled by authorized digital service partners: Protean eGov Technologies Limited (formerly NSDL eGov) and UTIITSL.
[Fill Online Application Form] ➔ [Submit Processing Fee] ➔ [Authenticate Identity (e-KYC or Physical)]
1. Essential Document Checklist for PAN
To process an individual PAN application under the updated Income Tax frameworks, you must provide valid proof across three primary fields:
-
Proof of Identity (PoI): Aadhaar Card, Passport, Voter ID Card, or Driving License.
-
Proof of Address (PoA): Aadhaar Card, Passport, Driving License, Bank Account Statement, or recent Utility Bills (Electricity, Water, Gas) less than three months old.
-
Proof of Date of Birth (DoB): Birth Certificate, Matriculation/10th Standard passing certificate, Passport, or Aadhaar Card.
💡 The Ultimate Shortcut: If you already possess a fully updated Aadhaar card linked to your current mobile number, you do not need any other documents. The system can pull your data automatically via paperless e-KYC.
2. Step-by-Step Online Application Process (via Protean/NSDL)
Part 2: How to Apply for a New Aadhaar Card Online
An Aadhaar card is a unique 12-digit number managed directly by the Unique Identification Authority of India (UIDAI).
⚠️ The Absolute Technical Reality:
You cannot complete a new Aadhaar card application entirely online from your home. Because Aadhaar requires capturing unique biological markings (10 fingerprint impressions, 2 iris eye scans, and a live tracking facial photograph), you must physically check into a verified enrollment station. The online portal serves as a fast-track reservation tool to bypass queues and pre-submit your demographic data securely.
[Book Online Appointment via myAadhaar] ➔ [Visit Center for Biometric Capture] ➔ [Receive Aadhaar Processing Slip]
1. Essential Document Checklist for Aadhaar
You must carry your original documents to the physical verification desk. The most popular verified documents include:
-
Proof of Identity (PoI): PAN Card, Passport, Voter ID, or Driving License.
-
Proof of Address (PoA): Bank Passbook, Electricity Bill, Water Bill (not older than 3 months), or a registered Rent Agreement.
2. Step-by-Step Online Appointment & Offline Enrollment Process
Part 3: Operational Troubleshooting and Maintenance
| Common Structural Issue | Root Cause | Fix and Resolution Pathway |
| PAN Application Rejection | Name or Date of Birth data spelling does not match Aadhaar records. | Apply using the “Scanned Images through e-Sign” track, or update your Aadhaar card details before filing a new PAN request. |
| Aadhaar Generation Delay | Biometric data quality check or demographic background match backlog. | Go to myaadhaar.uidai.gov.in, click “Check Enrolment Status”, and input your EID to see if a biometric re-scan is needed. |
| Missing PAN Acknowledgment | Transaction window timed out or email delivery failed. | Return to the Protean homepage, click “Continue with Application”, and enter your temporary token number to re-verify status. |
Apply Link
Security Best Practices for Digital Identities
-
Avoid Public Cyber-Café Leakage: When printing appointment slips or uploading documents from public terminals, delete all downloaded PDFs and clear the browser history completely.
-
Verify Official Extensions: The government of India only operates official services on domains ending with .gov.in or .nic.in. Never input personal information or upload documents onto private blogs or social media web links.
-
Avoid Intentional Duplication: Holding more than one physical PAN card under the same name is an illegal offense under Section 272B of the Income Tax Act, which can attract a statutory fine of up to ₹10,000. If you lose a card, always apply for a “Reprint” or “Duplicate Copy” instead of starting a new application.
Do you need help with any specific part of your application?
Let me know if you are facing errors with a particular step, such as finding your Assessors Officer (AO) code or resolving an e-Sign OTP failure, and I can guide you through the process!